Encrypt a Full Disk with TrueCrypt
Main Content
Prerequisites:
- You must have TrueCrypt installed (see How to Install TrueCrypt).
- You must have a blank CD ready to create a TrueCrypt recovery disk (this is a requirement).
(The example screenshots below were created in June, 2010, using Windows 7 on a single-boot computer.)
Warning: Data backup is recommended before starting this tutorial, because if any program crashes during the encryption process, the hard disk could become unusable.

- Figure 1, TrueCrypt Program Icon
- Locate the TrueCrypt program icon on your Desktop and double-click on it as in Figure 1, TrueCrypt Program Icon.

- Figure 2, TrueCrypt Menu
- When TrueCrypt starts, select the System tab and click Encrypt System Partition/Drive… as in Figure 2, TrueCrypt Menu.

- Figure 3, Normal TrueCrypt Encryption
- Select the Normal type and click Next as in Figure 3, Normal TrueCrypt Encryption.

- Figure 4, TrueCrypt Whole Drive Encryption
- Select Encrypt the whole drive and click Next as in Figure 4, TrueCrypt Whole Drive Encryption.

- Figure 5, Not Host Protected Area
- Select No and click Next as in Figure 5, Not Host Protected Area.

- Figure 6, Single-boot Option
- Select Single-boot and click Next as in Figure 6, Single-boot Option.

- Figure 7, Encryption Options
- Click Next as in Figure 7, Encryption Options.

- Figure 8, Create TrueCrypt Password/Passphrase
- Enter the new password/passphrase that you will be using to access this computer once the full disk has been encrypted as in Figure 8, Create TrueCrypt Password/Passphrase. Remember this password/passphrase because if you forget it, then you will not be able to access this computer after the disk has been encrypted.

- Figure 9, Random Data
- Move your mouse randomly over the window to increase the randomness of the encryption, then click Next as in Figure 9, Random Data.
- You may be asked if you want to continue to generate the keys. If so, click Yes as in Figure 10, Allow Continuation.

- Figure 11, Keys Generated
- After the keys are generated, click Next as in Figure 11, Keys Generated.

- Figure 12, Start Rescue Disk Creation
- You must create a TrueCrypt rescue disk in order to continue. Set the ISO image location to be the Desktop and then click Next as in Figure 12, Start Rescue Disk Creation.

- Figure 13, Burn Rescue Disk
- Click OK as in Figure 13, Burn Rescue Disk.

- Figure 14, Start Burn
- Select Verify disc after burning and click Burn as in Figure 14, Start Burn.

- Figure 15, Insert Blank CD
- Insert a blank CD into your computer as in Figure 15, Insert Blank CD.

- Figure 16, Rescue Disk Status
- Notice the status screen while the recovery disk is created as in Figure 16, Rescue Disk Status.

- Figure 17, Rescue Disk Finished
- When the recovery disk has been created, click Close as in Figure 17, Rescue Disk Finished.
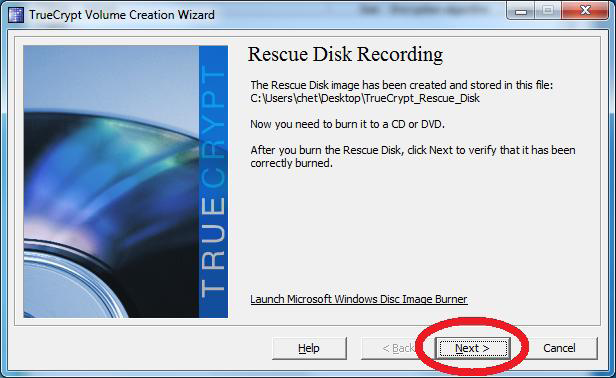
- Figure 18, Verify Burn
- Click Next as in Figure 18, Verify Burn.
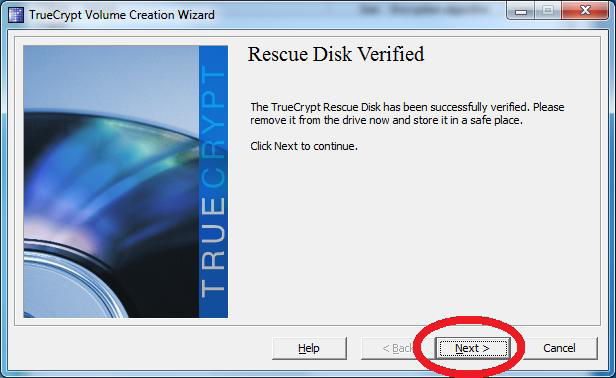
- Figure 19, Rescue Disk Verified
- Click Next as in Figure 19, Rescue Disk Verified.
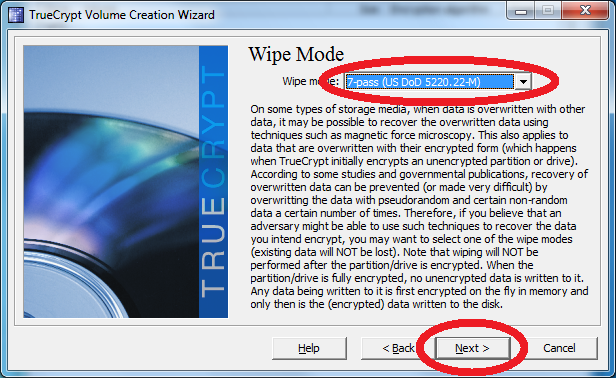
- Figure 20, Wipe Mode
- Set the Wipe Mode and click Next as in Figure 20, Wipe Mode. This example used a 7-pass wipe on a 230GB hard disk, and this took approximately 8 hours to wipe and encrypt the hard disk.
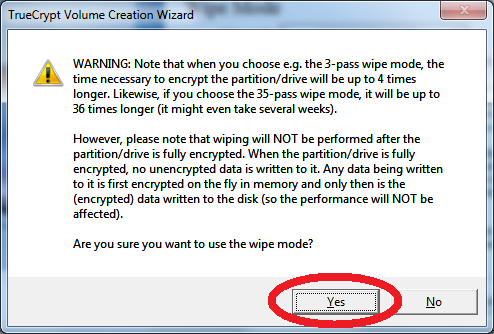
- Figure 21, Wipe Mode Warning
- Click Yes as in Figure 21, Wipe Mode Warning.
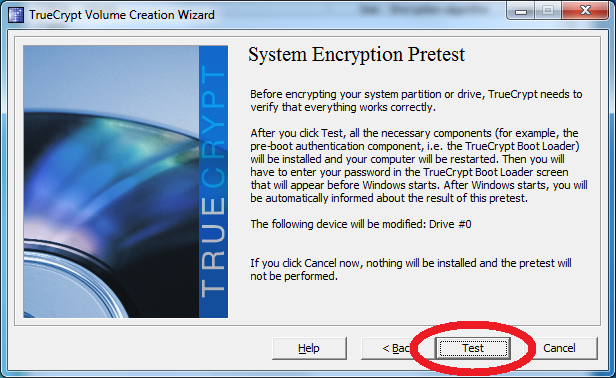
- Figure 22, Encryption Pretest
- The pretest will restart your computer. This will test the password that you created earlier. The hard disk will not be encrypted, yet. If you forgot your password, the computer will still restart this time. (But if you forget your password later, after the disk has actually been encrypted, then you will not be able to access this computer.) Click Test as in Figure 22, Encryption Pretest.
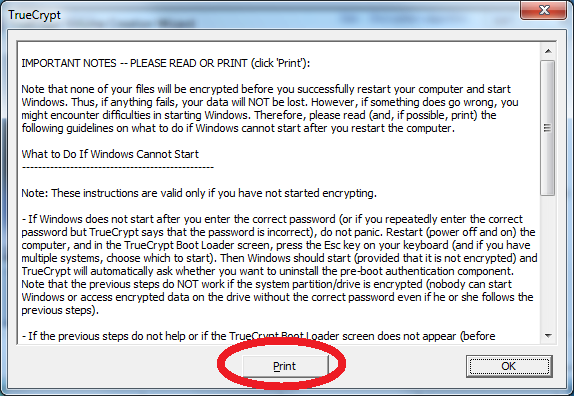
- Figure 23, Important Notes, Part 1
- Read the precautionary notes and print them if desired. The entire notes are started here in Figure 23, Important Notes, Part 1.
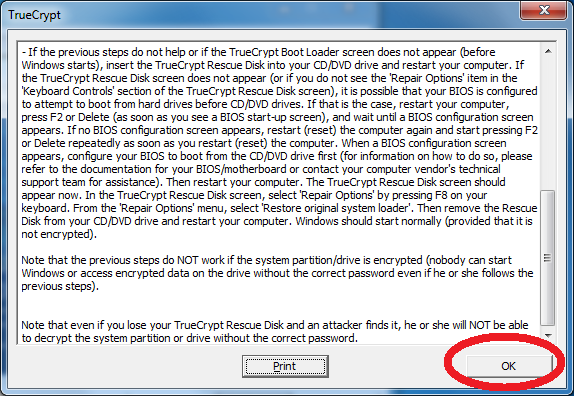
- Figure 24, Important Notes, Part 2
- Once you have read and/or printed the precautionary notes, click OK. as in Figure 24, Important Notes, Part 2.
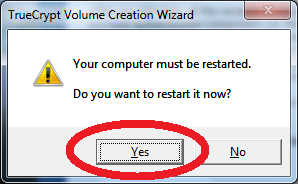
- Figure 25, Restart Computer
- Click Yes when you are ready to restart and test your computer as in Figure 25, Restart Computer.
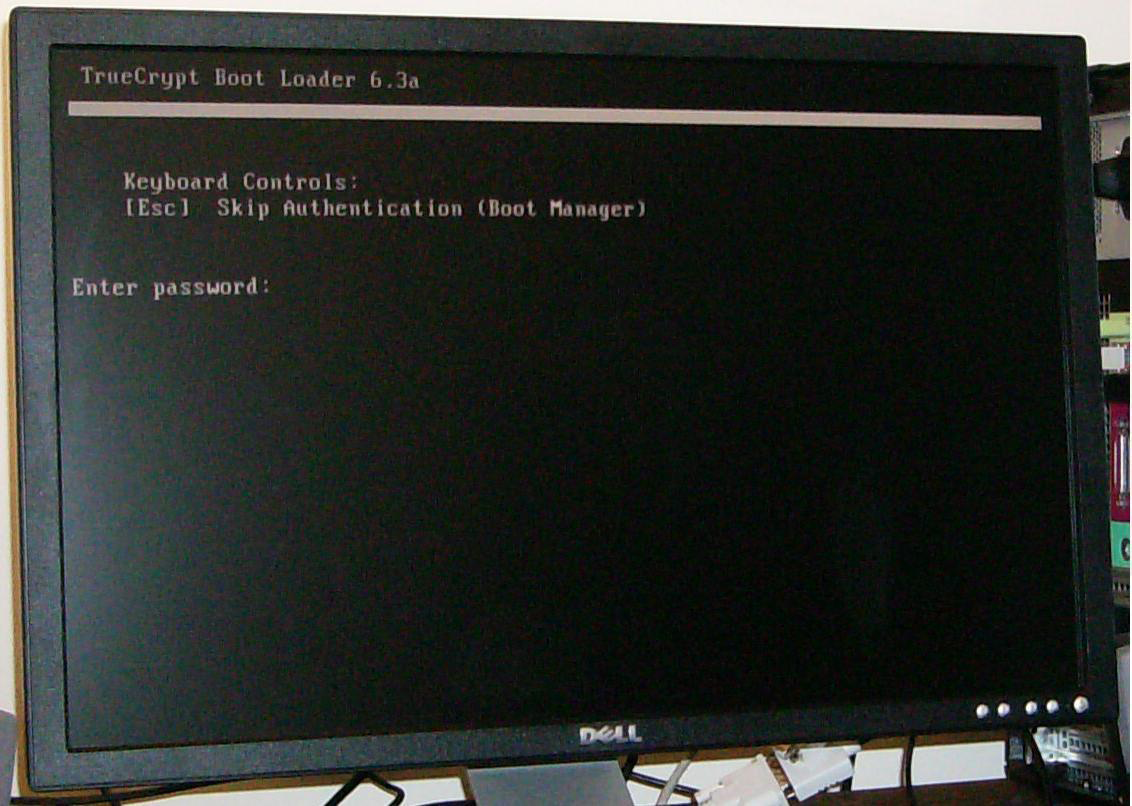
- Figure 26, Enter TrueCrypt Password
- When your computer restarts, you will be asked for the TrueCrypt password before Windows is started. Enter the password as in Figure 26, Enter TrueCrypt Password. This time, for the test, if you forgot your password, the computer will start anyway after a few seconds. Later, after the hard disk is actually encrypted, if you forget the password, you will not be able to proceed after this screen and your computer will not be accessible.
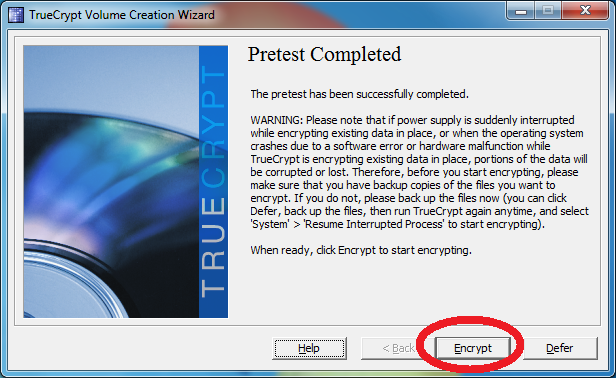
- Figure 27, Pretest Completed
- After you log in, Windows will restart, TrueCrypt will resume, and you will be asked to proceed. Click Encrypt as in Figure 27, Pretest Completed.
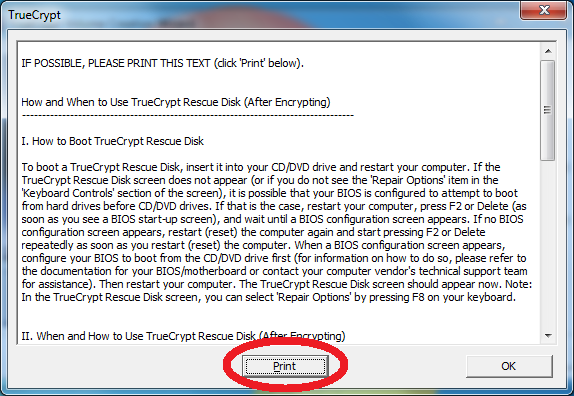
- Figure 28, Warning, Part 1
- Read and/or print the warning message. The entire message is started here in Figure 28, Warning, Part 1.
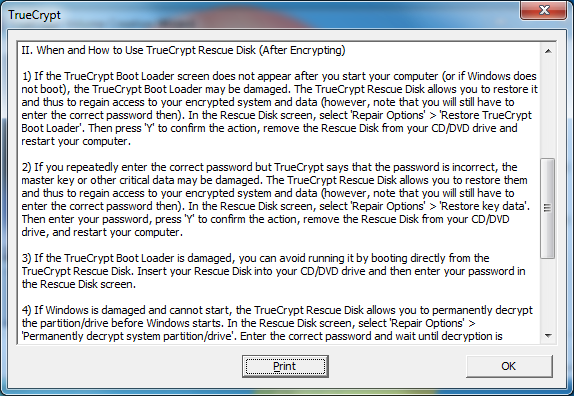
- Figure 29, Warning, Part 2
- The warning message continues in Figure 29, Warning, Part 2.
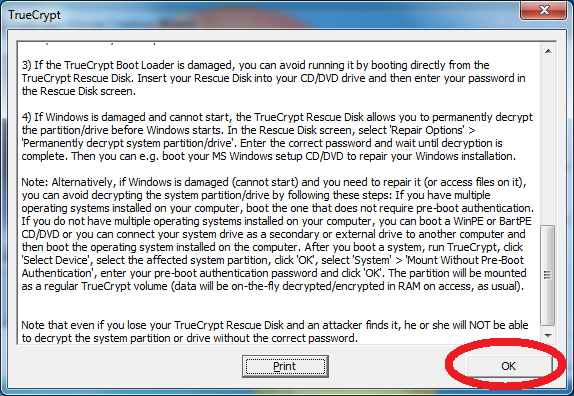
- Figure 30, Warning, Part 3
- Once you have finished reading and/or printing the warning message, click OK as in Figure 30, Warning, Part 3. It is recommended that you do not use your computer any more than necessary during the encryption process because if a program crashes, even if it is another program that crashes, it could corrupt your hard disk during the hard disk encryption process.

- Figure 31, Encryption Status
- TrueCrypt displays the status as it encrypts the hard disk as in Figure 31, Encryption Status. The estimated time for the 230GB hard disk in this example with 7 passes was 9 hours. The encryption process might be paused (see above example) if your computer goes to sleep. If this happens, click Resume to continue. The next few screenshots show how to keep your computer from going to sleep.
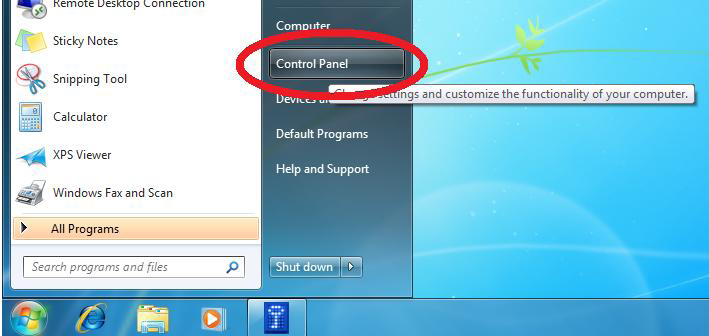
- Figure 32, Staying Awake, Part 1
- Click the Windows button to open the start menu. Then, click Control Panel. As in Figure 32, Staying Awake, Part 1.
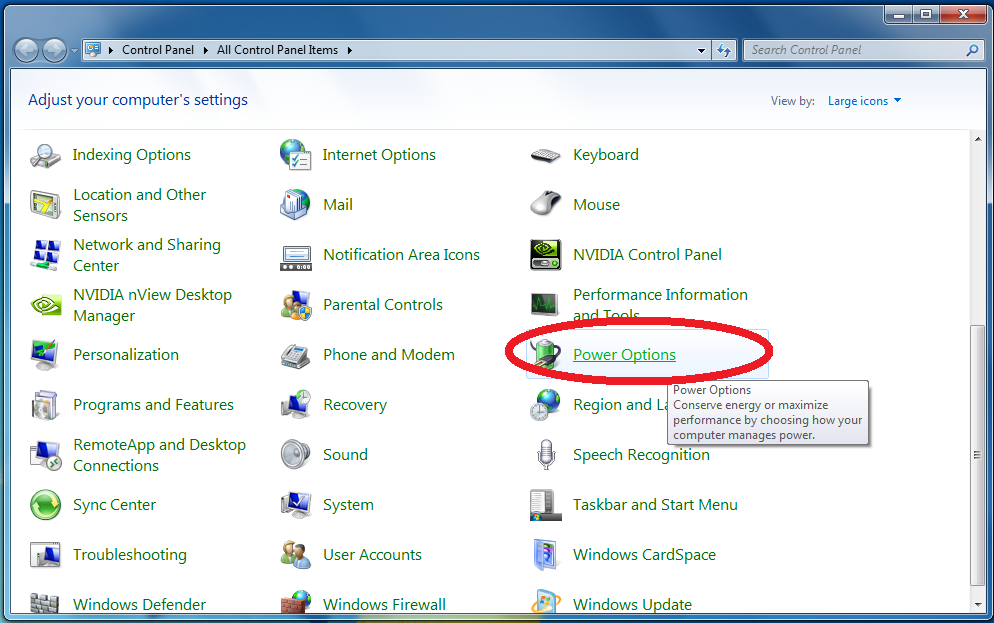
- Figure 33, Staying Awake, Part 2
- In the Control Panel, click Power Options as in Figure 33, Staying Awake, Part 2.
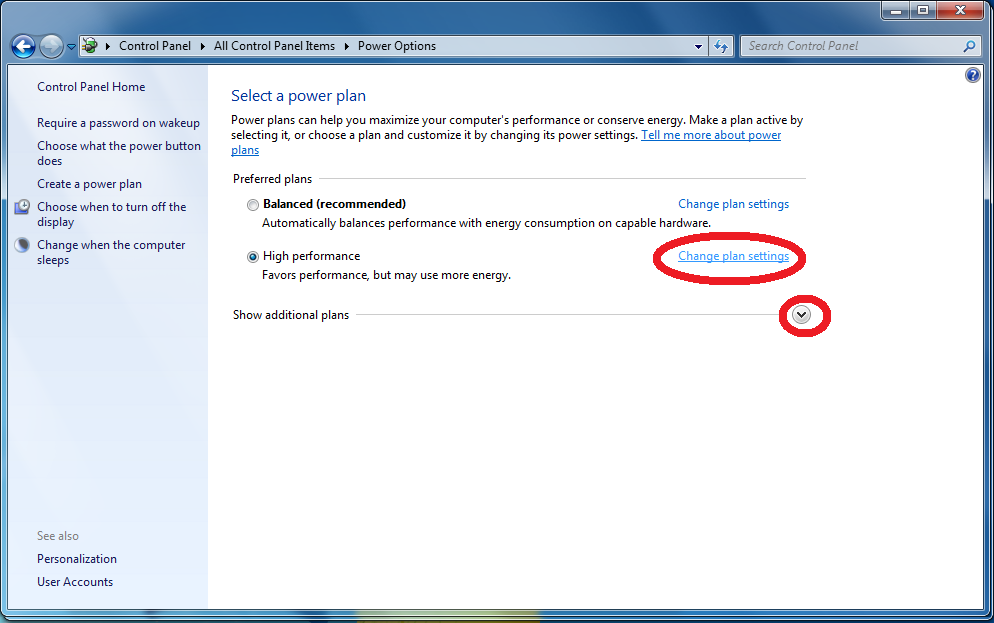
- Figure 34, Staying Awake, Part 3
- Select High Performance (you may need to click the down arrow by Show additional plans in order to see High Performance) as in Figure 34, Staying Awake, Part 3. Note the Balanced option. You should return here after the encryption process and select the Balanced setting. For now, when you are ready, click Change plan settings for High Performance.
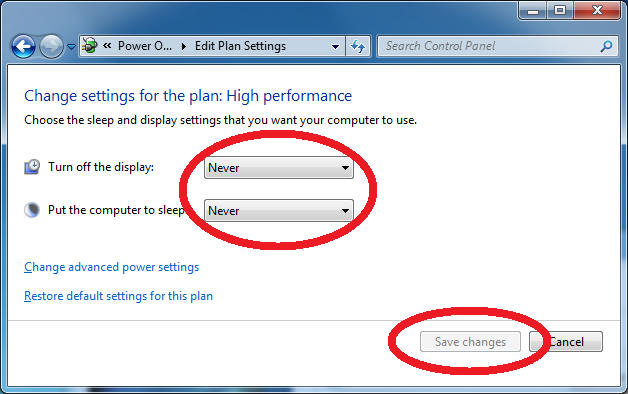
- Figure 35, Staying Awake, Part 4
- Select Never for Turn off the display and Put the computer to sleep as in Figure 35, Staying Awake, Part 4.
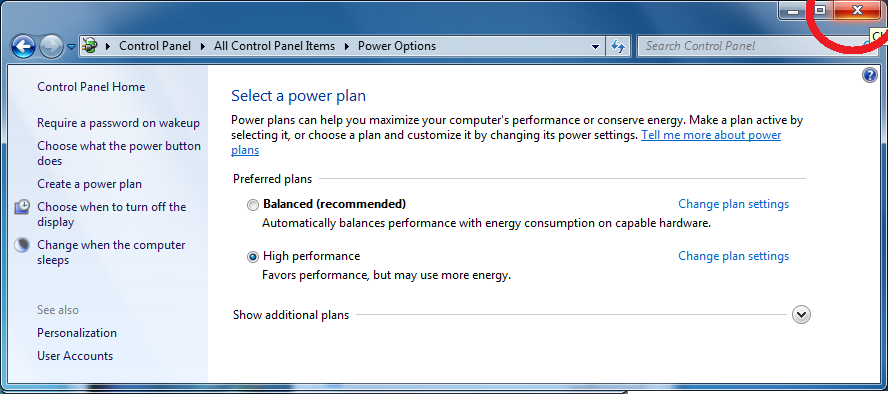
- Figure 36, Staying Awake, Part 5
- Close this panel by clicking the red X as in Figure 36, Staying Awake, Part 5.
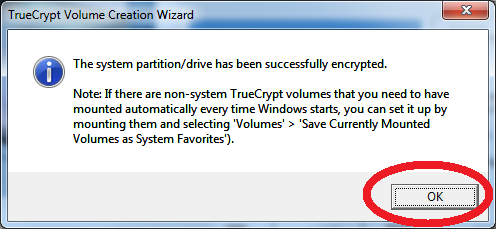
- Figure 37, Encryption Success
- Back to the encryption process, when the encryption is over, click OK as in Figure 37, Encryption Success.
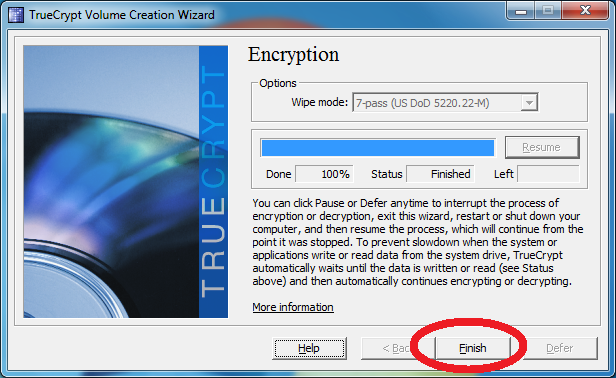
- Figure 38, Encryption Finish
- Click Finish as in Figure 38, Encryption Finish.

- Figure 39, Full Disk Encryption Is Finished
- You may now use your encrypted hard disk as in Figure 39, Full Disk Encryption Is Finished. Everything will be the same, except you will be asked for the TrueCrypt password you created from now when your computer boots.
If you made it here, then you have encrypted a full disk with TrueCrypt.


