Entrust
Main Content
This document consists of a single workflow to configure Microsoft Outlook 2007 for the Entrust system.
Prerequisites:
- You must already have an Entrust account (see How to Create a State of Illinois Entrust PKI Account).
- You must already have the Entrust client installed (see How to Install the Entrust EESP Client for Windows).
- You must already be using Outlook.
- You may need to have gotten the State of Illinois certificate (see How to Get the Certificate for Outlook 2007).
About this workflow: The example screenshots below were created in June, 2010, using Windows Vista and a system tray in the lower right corner of the display. You may desire to review the entire workflow before beginning. The estimated time of this workflow is 15 minutes. During this process, Entrust may or may not ask for your password as described in Entrust Spontaneous Password Entry.
The workflow starts here:
Open Outlook.

Figure 1, Open Outlook
Start Microsoft Outlook in the way that you would normally start it as in Figure 1, Open Outlook.

Figure 2, New Message
Click New to start a new message (even though you are not going to be sending this message to anyone) as in Figure 2, New Message.

Figure 3, Message Options
Click Options as in Figure 3, Message Options.

Figure 4, More Message Options
Click the tiny icon of the arrow in the box which is to the right of More Options as in Figure 4, More Message Options.

Figure 5, Security Settings
Click Security Settings as in Figure 5, Security Settings.

Figure 6, Security Properties
Select Add digital signature to this message and Send this message as clear text signed. Then, click Change Settings… as in Figure 6, Security Properties.

Figure 7, Change Security Settings
Click the first Choose… (in the Signing Certificate area) as in Figure 7, Change Security Settings.

Figure 8, Select Certificate
Make sure that the CMS CA certificate is highlighted (it is the only one available in the example above) and click OK as in Figure 8, Select Certificate.

Figure 9, Entrust Password
You may be asked to enter your Entrust password and click OK as in Figure 9, Entrust Password.

Figure 10, Choose Next Certificate
Click the second Choose… (in the Encryption Certificate area) as in Figure 10, Choose Next Certificate.

Figure 11, Select Next Certificate
Again, make sure that the CMS CA line is highlighted and click OK as in Figure 11, Select Next Certificate.

Figure 12, Certificates Chosen
Click OK as in Figure 12, Certificates Chosen.

Figure 13, Security Properties Changed
Click OK as in Figure 13, Security Properties Changed.

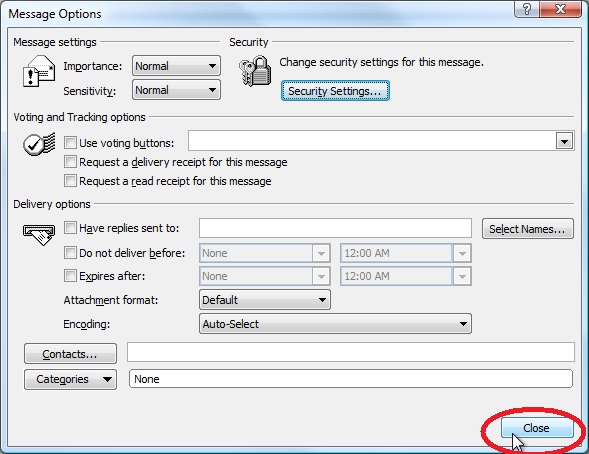
Figure 14, Message Options Changed
Click Close as in Figure 14, Message Options Changed.

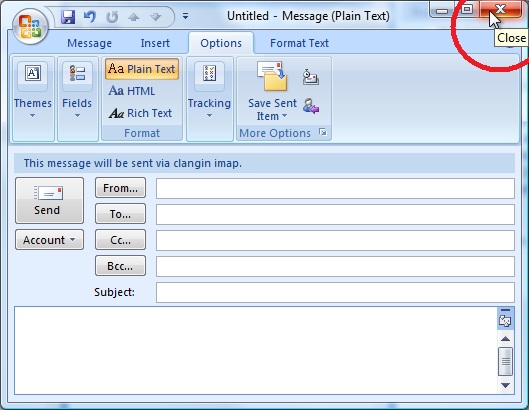
Figure 15, Discard New Message
Discard the new (“empty”) message that you started in order to make these changes. You can discard this message by clicking the red X in the upper right hand corner of the message as in Figure 15, Discard New Message.

Figure 16, Do Not Keep Message
Click No (you do not need to save a draft of this message) as in Figure 16, Do Not Keep Message.

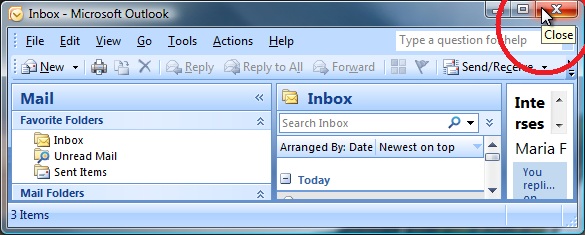
Figure 17, Close Outlook
Close Outlook. You can do so by clicking the red X in the upper right corner as in Figure 17, Close Outlook.

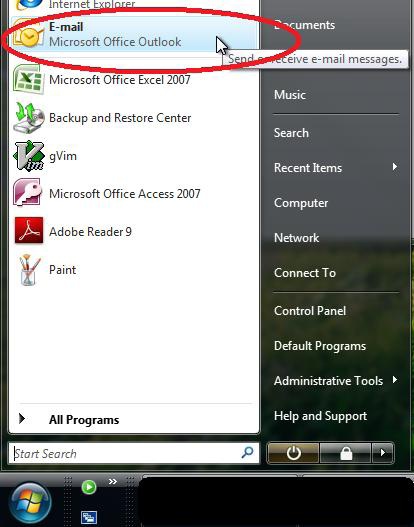
Figure 18, Restart Outlook
Restart Outlook in the way that you would normally do so as in Figure 18, Restart Outlook.
If you made it here, then you have configured Microsoft Outlook for the Entrust system.
Go up to Using Entrust in Microsoft Outlook.


